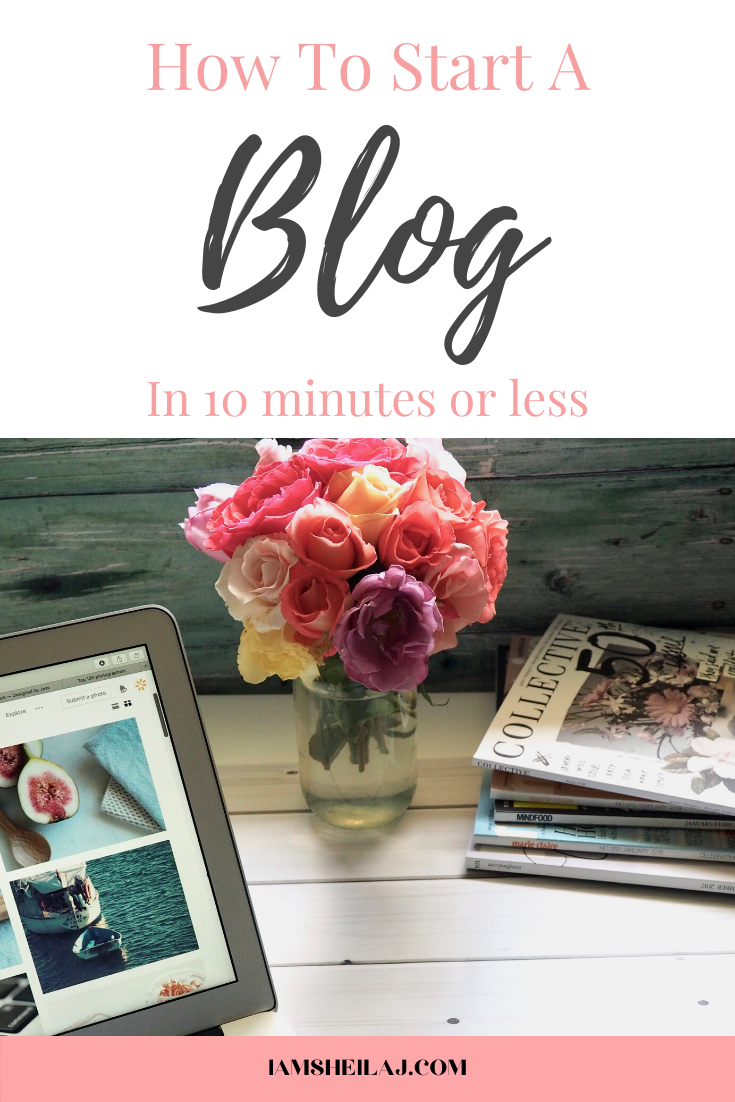
Looking to earn from the comfort of your home and by sharing your views and experiences? Then blogging is for you. Check out this guide to starting your own blog in 10 minutes or less.
Disclaimer: if you click on any of the links in this post, it will generate a small commission for me which goes toward me being able to produce more content.
Some people still think blogs are for just businesses and corporations. While this may have been true in the past, the current reality is that blogs are for anyone and everyone! Whether you want to blog for profit or as a hobby, you can do it quickly and easily. I started my blog in 2014, and now, I use the income from it to supplement what I get from my modelling and photography. So in this post, I’ll be showing you how to set up your blog from start to finish in 10 minutes or even less.
Starting the blog
After consciously deciding to start your blog, the first thing to do is get your ideas and mentality straight. Know precisely what you want for your blog and what you want the blog to do for you. Also, know that results and profits will not come overnight. Many people begin their blog journies and quit because they cannot see the immediate results they were expecting. So, be ready to put in the work and wait for results.
Starting a blog is pretty easy nowadays. The truth is you can start your blog with $5 or less. Here’s the step-by-step guide you need to start your blog in minutes:
- Pick your blog name and set up your domain and host
- Install WordPress
- Design your blog
 Pick your blog name and set up your domain and host
Your blog domain name is really important because it is literally the name of your blog. It’s what creates the first impression your readers will have about the blog, so you have to be careful picking it. Once you pick and settle on a name, there’s no going back. So make sure your name is simple and related to the purpose of your blog.
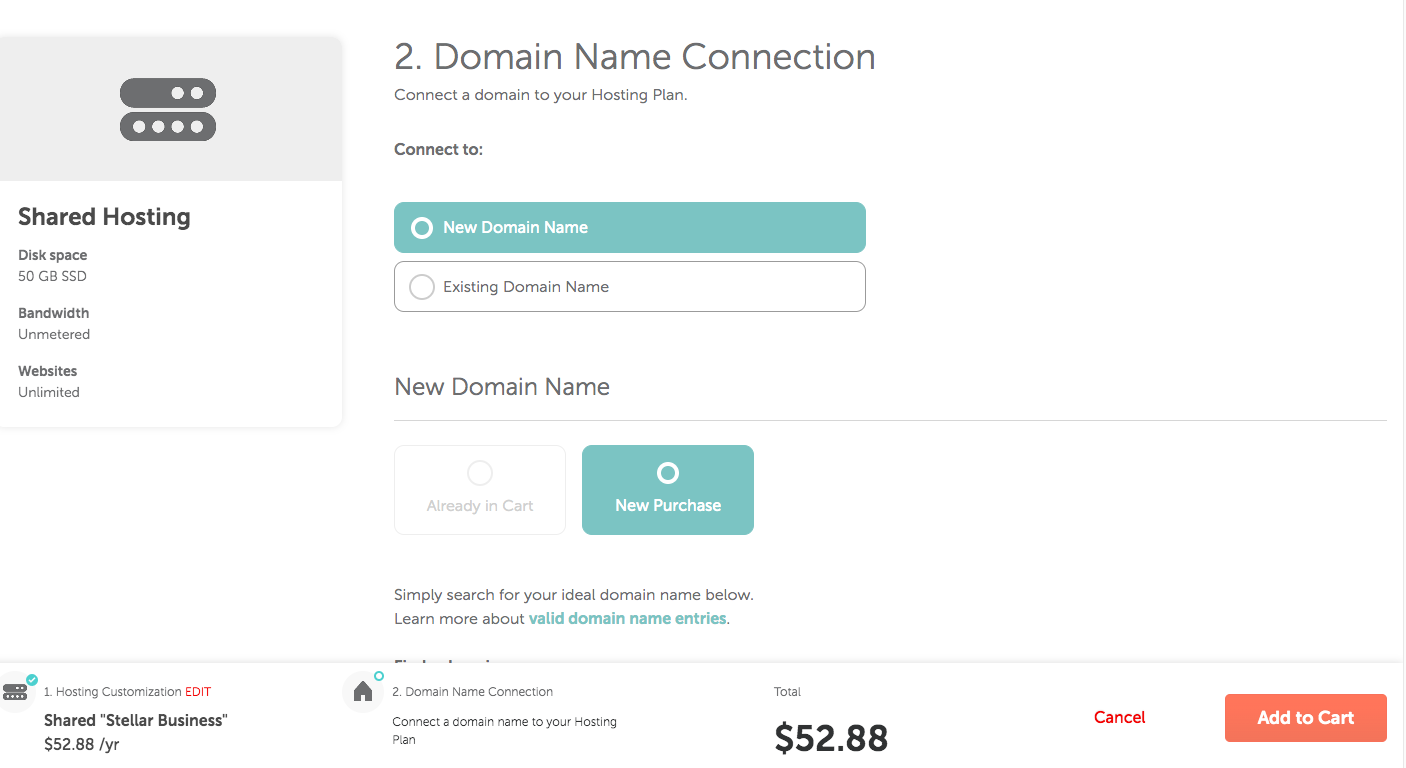
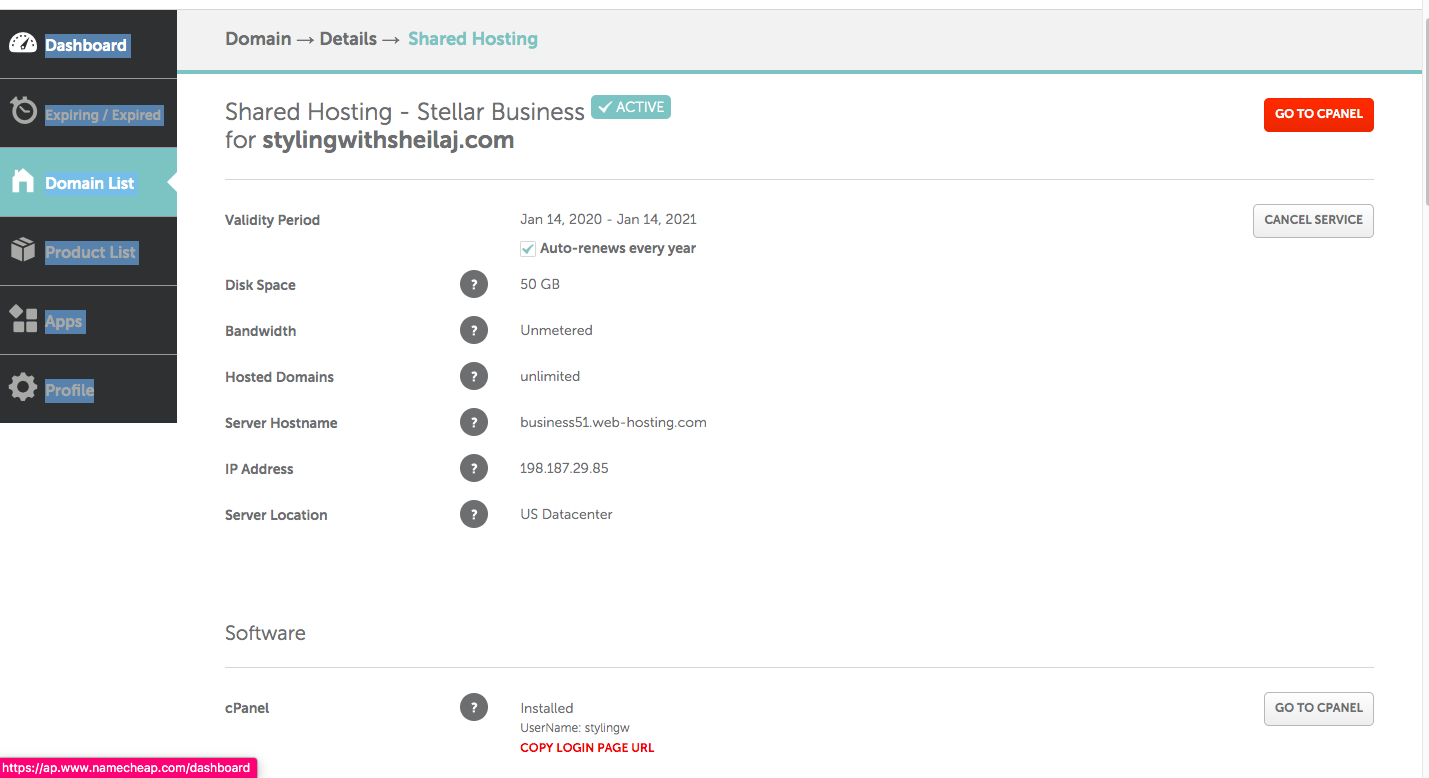
Once you have picked that, the next step is to register the domain name so that nobody else can use it. This may sound technical, but all you’re doing is using Name Cheap to search for your blog’s unique domain.
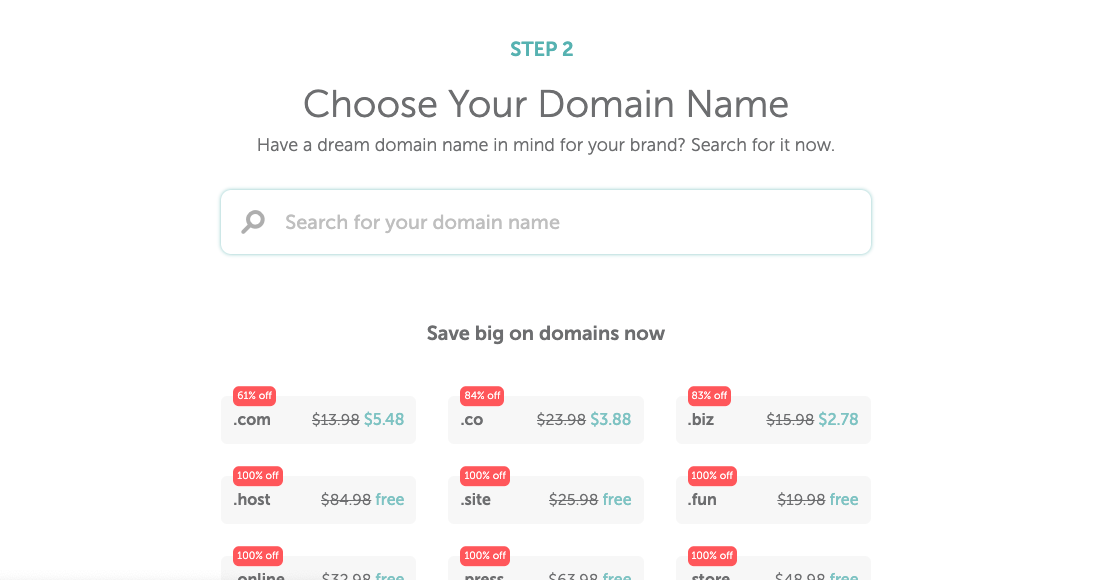
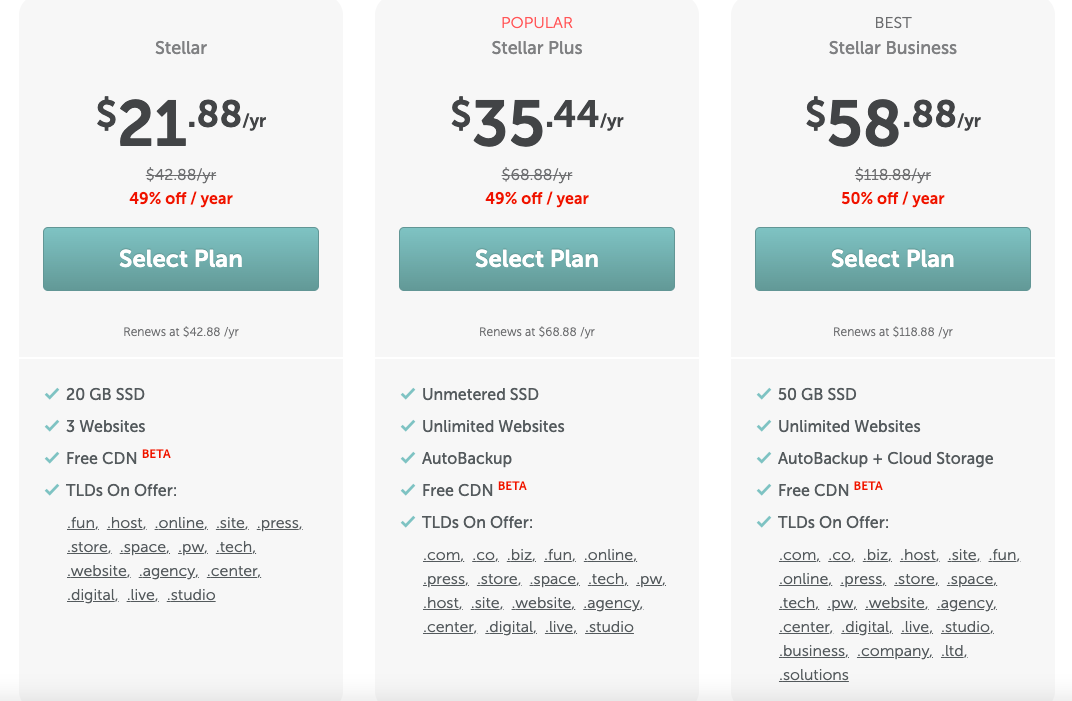
Once you see that it is available, move forward by selecting your preferred hosting plan. The Name Cheap rates are super affordable and you can start your blog with as little as $4.44 a month if you purchase a year hosting plan or longer.
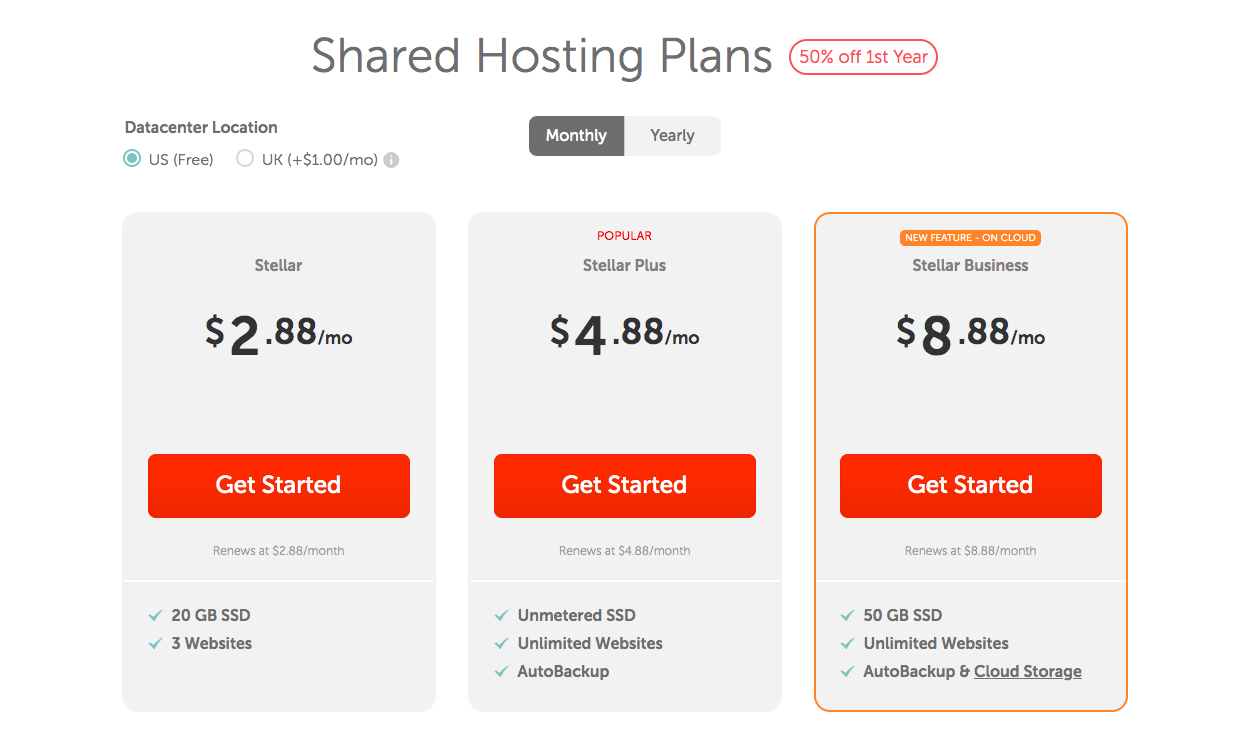
I recommend the Stellar Business plan because it will save you the most money in the long run, but you will need to pay that amount up front instead of monthly. Whenever you decide to cancel, Name Cheap will refund the prorated amount left on your plan.
After this step, go through and complete the account setup process with all your required details.
Install WordPress
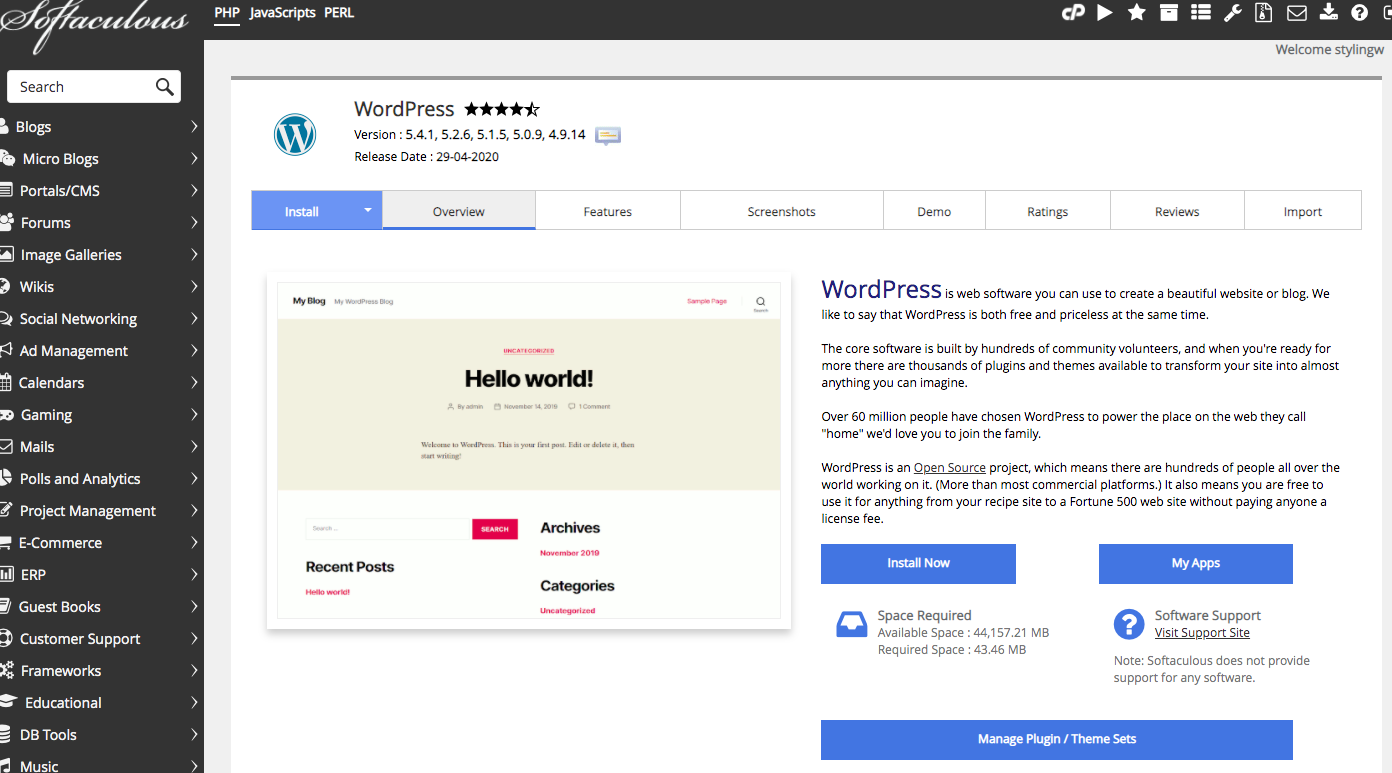
After purchasing and registering your domain name using Name Cheap, the next step is to install WordPress for your day-to-day operation of your blog. Luckily, Name Cheap simplifies this by giving you a one-click install option in your dashboard.
To install WordPress, log into Name Cheap and go to your dashboard. Scroll down until you see WordPress. It is a free installation.
On the next page, click “install.” Then click “check domain” and then “install now.”
Once the installation is complete, click “view credentials” in the upper right hand corner. Here you will need to write down your admin URL, login name and password for your blog. You can then type the admin URL into your browser and log into your new site.
Be sure to go to Cpanel to install
Design your new blog
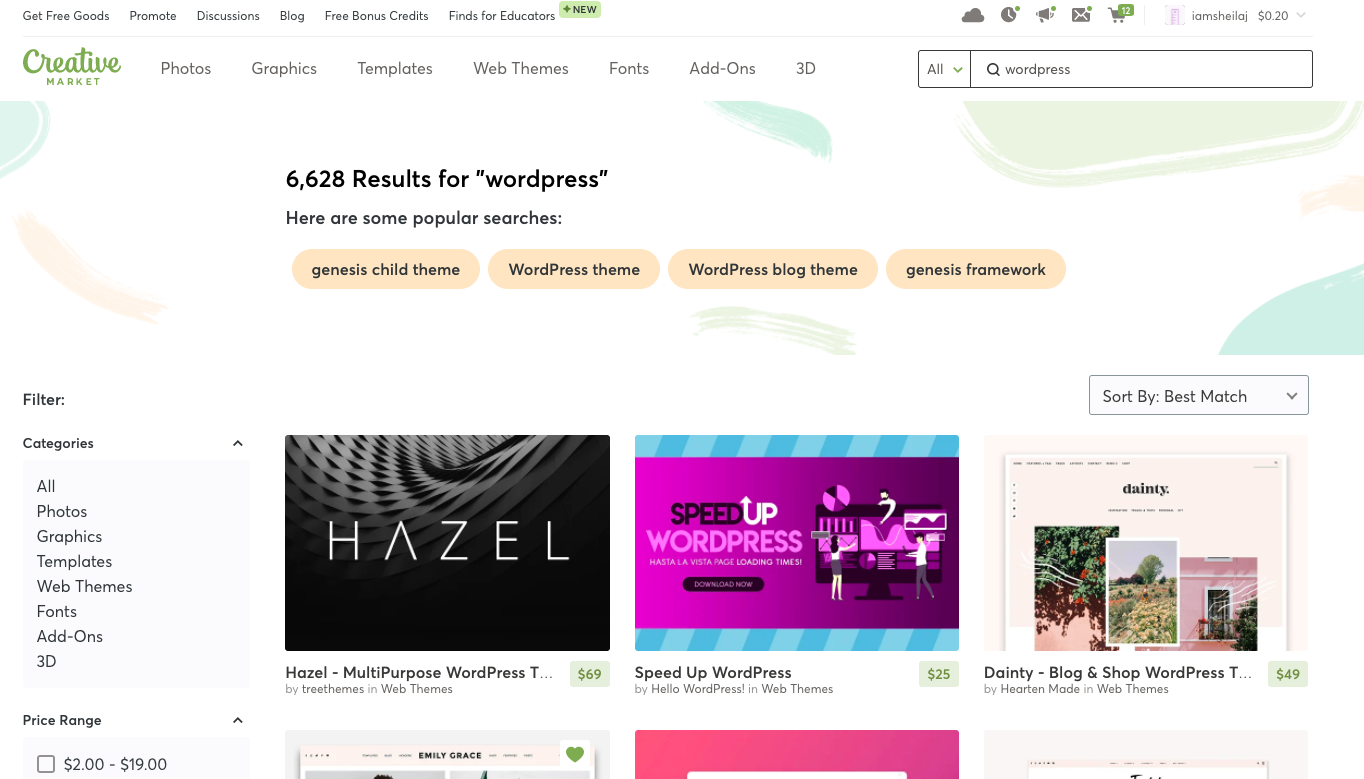
Congratulations, you’ve set up your blog! After installing and setting up your WordPress, your blog is pretty much set on the internet. However, you need to design it nicely because your design will have a huge impact on your readers. Make sure you take out the time to properly design your site using either the free WordPress themes or any of the premium themes. For this blog and my other blogs (Frugalandpretty.com and Stylingwithsheilaj.com), I invested in my themes using CREATIVE MARKET and it made everything much better.
So that’s it! Your blog is ready to be filled up with valuable content that your readers will love. Remember that results are not immediate, but they’ll eventually come. Have any questions regarding your blog setup? Leave a comment and I’ll respond ASAP.
If you prefer video tutorials to blog posts, check out my YouTube channel for more business tech tutorials and other tutorials.